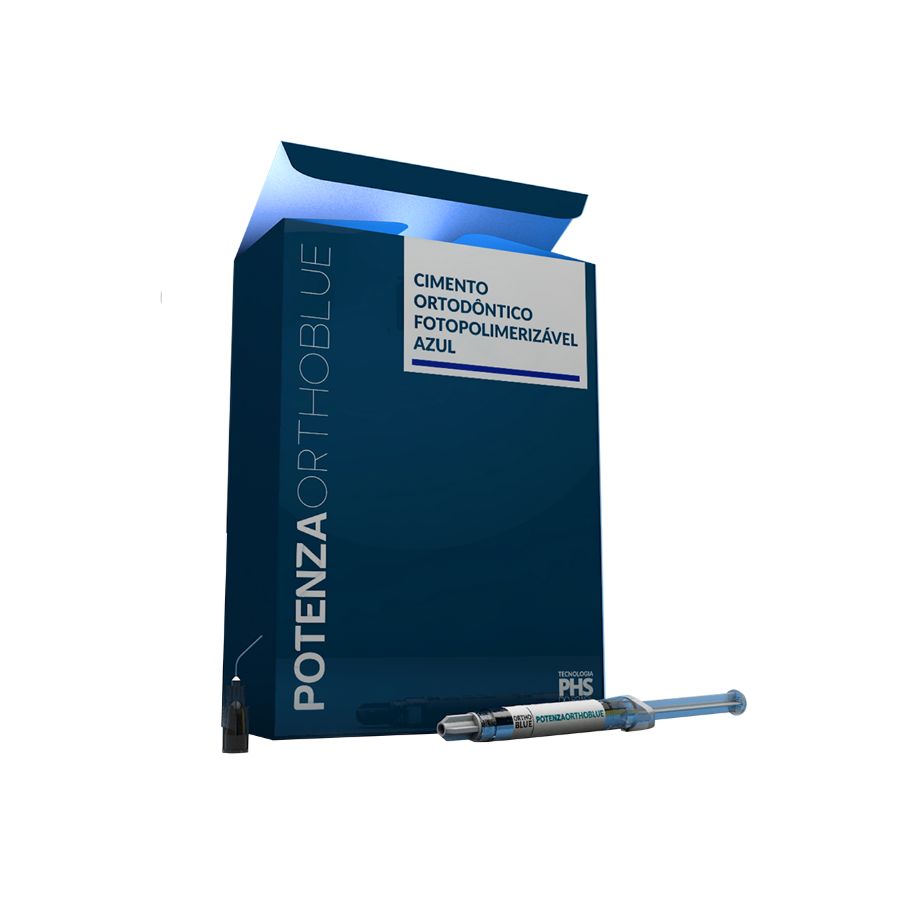
Potenza Orthoblue PHS Orthodontic Bite Lift Cement is suitable for making temporary occlusal lifts and for cementing orthodontic bands.
It has a self-adhesive formula, which does not require the application of adhesives, ideal for places of great mechanical effort as it maximizes the adhesive resistance of the material to the tooth. And in applications on teeth with complex occlusal surface, as it improves sealing.
– Making temporary occlusal lifts.
– Cementation of orthodontic bands.
– Blue or green coloring: assists in the application and removal of the product.
– Light cured: allows you to control the working time.
– Self-adhesive formula: no application of adhesive. (Note: in places of great mechanical effort, the application of the adhesive is indicated as it maximizes the adhesive resistance of the material to the tooth. The adhesive is also indicated for application on teeth with complex occlusal surface, as it improves sealing).
– High-smooth surface: the nanometric spheroidal loads present in the product reduce friction, favoring sliding with the opposing teeth.
– Self-levelling capacity: facilitates the creation of lifts with greater precision.
– Contains fluoride.
How to use: Occlusal Lifts
1st Step : Clean the tooth that will receive the occlusal lift with a Robinson brush and pumice stone with water. Condition the occlusal surface with 35% phosphoric acid (eg Potenza Attacco 35, PHS) for 30s, then wash and dry. Keep the tooth isolated and dry.
Note: in cases of deep occlusal grooves or areas of great masticatory effort, apply adhesive on the occlusal surface. This increases the sealing ability and bond strength of the resin to the tooth.
Step 2 : Apply a small amount of Orthoblue to the occlusal surface and shape as needed. Upon reaching the desired shape, light cure the resin for 30s. If necessary, further increments can be made to make up for the intended use.
How to use: Cementing bands
1st Step : Clean the tooth that will receive the band with a Robinson brush and pumice stone with water. Condition their free faces (buccal and palatal/lingual) with 35% phosphoric acid (eg Potenza Attacco 35, PHS) for 30s, then wash and dry. Keep the tooth isolated and dry.
2nd Step : Roughen the inner part of the band with abrasive tips or blasting with aluminum oxide.
3rd Step : Apply a thin layer of Orthoblue on the inner perimeter of the band, covering the area corresponding to the free surfaces (buccal and lingual or palatal). Avoid applying the resin to the proximal faces to avoid band misfit.
4th Step : Seat the band to the tooth until it is perfectly adapted and remove the excess cement that overflows from the margins. Be sure not to leave any gaps between the tooth/band that are not filled by the cement.
5th Step : Light cure the cement by focusing the light beam of the device by occlusal along the entire tooth/band interface for 30s. Make sure there is no excess cement in the proximal areas, allowing for correct flossing.
1 syringe with 4.5g of product + Application Tip + Instructions for use.
Nós temos uma seleção de produtos que pode melhorar sua jornada odontológica




“Os produtos da Tokuyama são incríveis e fazem parte dos materiais que utilizo no meu dia a dia clínico. São produtos que possuem comprovação científica de um resultado de excelência e com longevidade clínica. O sucesso na qualidade dos meus procedimentos está diretamente relacionado a escolha e uso desses materiais.”
“Eu não abro mão de utilizar as resinas e pigmentos da Tokuyama em 100% dos meus casos de restaurações estética. Os pigmentos Estelite Color me possibilitam realizar uma estratificação simplificada, resultando em sorrisos delicados e naturais. Sempre faço questão de finalizar meus casos com Estelite ou Palfique, pois sei que a estabilidade de cor e de brilho estarão garantidas ao meu paciente!”
“Diariamente, faço uso do clareamento caseiro da Potenza para garantir resultados excepcionais em meus pacientes. Esse produto é fundamental em meus casos de facetas de resina composta. Além disso, trabalho com o esmalte MW da Tokuyama, que proporciona um efeito extremamente natural. A combinação desses produtos permite que eu alcance resultados estéticos superiores. Com a Potenza e a Tokuyama, consigo oferecer tratamentos personalizados e de alta qualidade”
“Eu realmente confio nos materiais da Tokuyama. As linhas Estelite e Palfique são minhas primeiras escolhas há anos, porque unem tecnologia RAP (com alta conversão, baixa contração) a uma carga supranano que garante excelente polimento e resistência mecânica. Elas elevam o nível das minhas restaurações e me dão segurança em cada detalhe”
“Os produtos da linha Potenza e da Tokuyama fazem parte da minha rotina clínica e me ajudam a alcançar resultados estéticos previsíveis com excelência. As resinas da Tokuyama, especialmente a Estelite, se tornaram indispensáveis na minha prática clínica. A textura, o polimento e a naturalidade do resultado final elevam o padrão estético dos meus casos. Confiabilidade e performance que realmente fazem a diferença!”
“Os produtos da linha Potenza e Tokuyama têm se mostrado excelentes aliados na minha prática clínica diária. A confiança que proporcionam, desde procedimentos preventivos e tratamentos minimamente invasivos até restaurações de alta complexidade, aliada à facilidade de manipulação clínica e aos resultados estéticos previsíveis, contribui diretamente para a excelência dos tratamentos que ofereço aos meus pacientes.”
“A qualidade, consistência e praticidade dos materiais proporcionam resultados previsíveis e naturais, elevando ainda mais o padrão dos atendimentos.
No dia a dia, onde cada minuto importa, poder contar com a praticidade e estética faz toda a diferença.”